 I love my design wall and recently rearranged my quilt room so it would be in the best location. I like to have it in a spot where I can stand back and ponder. I also like it to be close enough to my sewing machine so that when I am piecing I can easily move back and forth from design wall to machine. I thought it would help to show you my progression of arranging blocks for a quilt so you can see how that ability to step back and look can be so important. Laying blocks out on the floor or a bed is not as effective since you can’t see the whole thing well enough. If you don’t have room, try and get creative with the space you do have. Put one on the back of a door, over a bookcase or go to your local quilt shop and borrow theirs. After all, if you do that, you get the opinion of fellow quilters to boot! I love laying quilts out on retreat as I get lots of great feedback from friends.
 I am making this quilt for two dear friends, Judy and Allida, who are generous and kind in everything they do. When my husband, Dick, had to work in DC and we wanted to keep our boys in school in RI, they invited Dick to stay with them. It meant so much that he had a home away from home. So they need a very special thank you present. Allida is an Eleanor Roosevelt scholar and an advocate for women’s rights and has worked extensively with women’s rights activists in Africa. They honeymooned in South Africa and everything about them is bright and optimistic. And so this line of fabric by Julia Cairns for Quilting Treasures seemed the perfect fit. The question was, how to bring all the bright colored blocks together.

I started by cutting the panel up and bordering each piece with bright colored fabric to make blocks that measured about 14″ x 18″ I placed them on the design wall and started playing. At first I placed them randomly, though I tried to spread the colors out. It was too busy.

I didn’t like the way the blocks lined up, so I tried making the rows offset. Much better, but still a little too busy.

Then I tried grouping the colors together. Dick gave this a boring thumbs down.

Finally, Goldilocks like, I tried grouping the colors together in areas with green on one side, blue on the other, and red yellow and orange in the center, but offset the blocks so the rows did not line up (easier for piecing!).
Next I wanted to add some sashing to unify the blocks. I know, it sounds odd to say I was going to unify the blocks by separating them with as sashing. But I find that adding an element that is the same throughout the blocks actually ties them together. First I tried a green sashing as I often find there is certain shade of green that goes with everything. But in fact, I didn’t like it. It faded into the design.
Dick suggested a tan that would look like grasses and so I hunted in my stash. Nothing grass like in a big enough piece, but I did find this won’t full dark brown with specs of many of the colors in the quilt. It really make the figures pop!
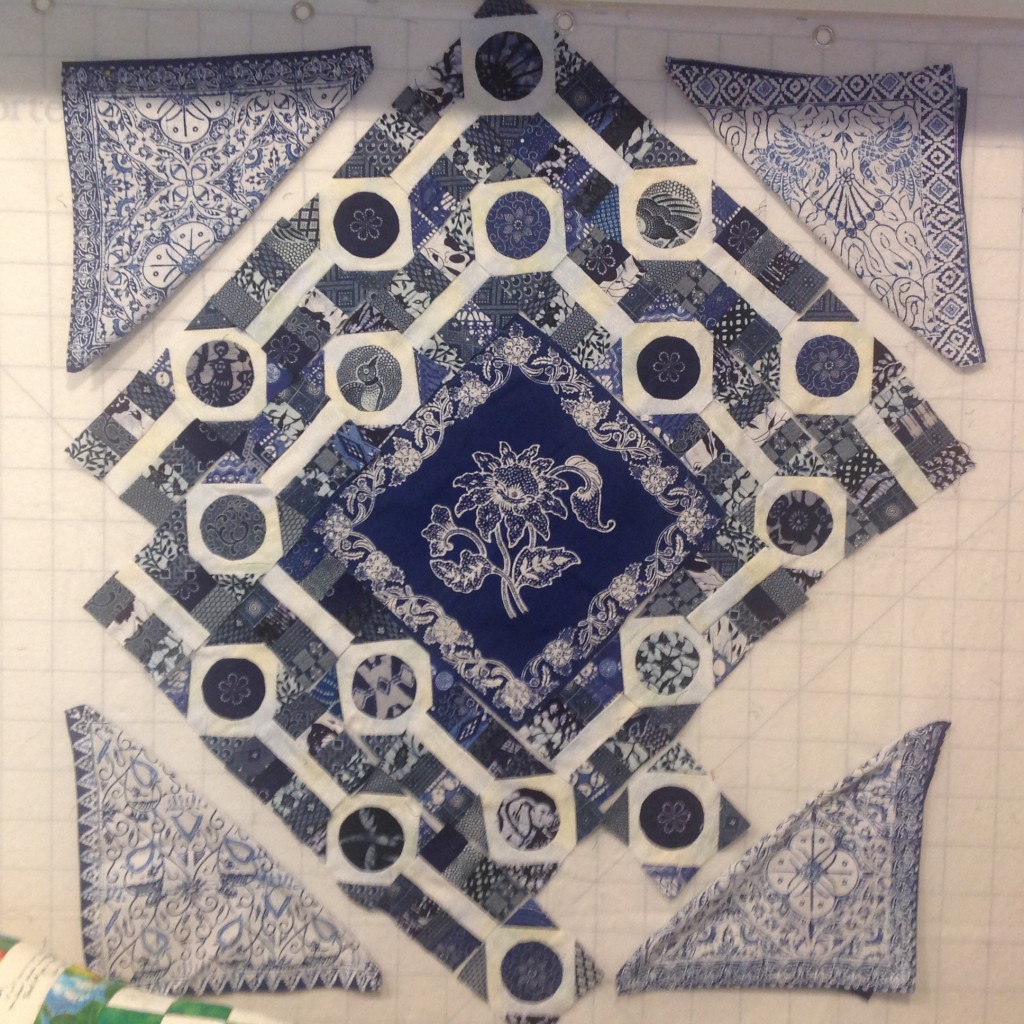
Next I will be putting on a border and quilting it. I’ll post some photos on Facebook as I make progress. I hope this gives you a concrete example of how a design wall can really help you look at your block layout. My design wall is a Fons and Porter that has handy grid lines. The flannel helps the blocks stay in place. A flannel back table cloth works well too. I staple mine to the wall since the staple holes are quite small and easy to patch. If you are going on retreat, you can hang a design wall with painters tape, but it can’t be too big or it will just peel off the wall. Just don’t put your design wall under an ac unit or a fan, or all your blocks might get blown off!
Still feeling too close? Stand back and take a photo with your phone or eye pad or use a reducing glass to look at your layout. This is a really helpful way to see if you have your values right. If there is as spot your eye goes right to, it might mean that your values are too similar or different. This is also a helpful trick to make sure you have all tour blocks facing the right way before you piece them together.
And don’t forget, changing blocks from straight on to on point can make for a much more dynamic quilt. Just look at these two layouts! Exact same blocks…


Have fun with your design wall. If you are stuck, sleep on it or call a friend to come over. As the daughter of a carpenter who was taught to measure twice, cut once, I highly recommend laying your blocks out first and playing around with them rather than sewing them together, being unhappy and unsewing!